Are you afraid of needles? You don't know how to sew, but are you one of those people who likes to do things yourself?
Well today you are in the right place, since we will teach you step by step how to make a cushion.
The cushion is one of the easiest and simplest creations there is, even if there is no knowledge about sewing or pattern making, since it is only making a square, a rectangle or any figure, the procedure is the same, only the required size changes.

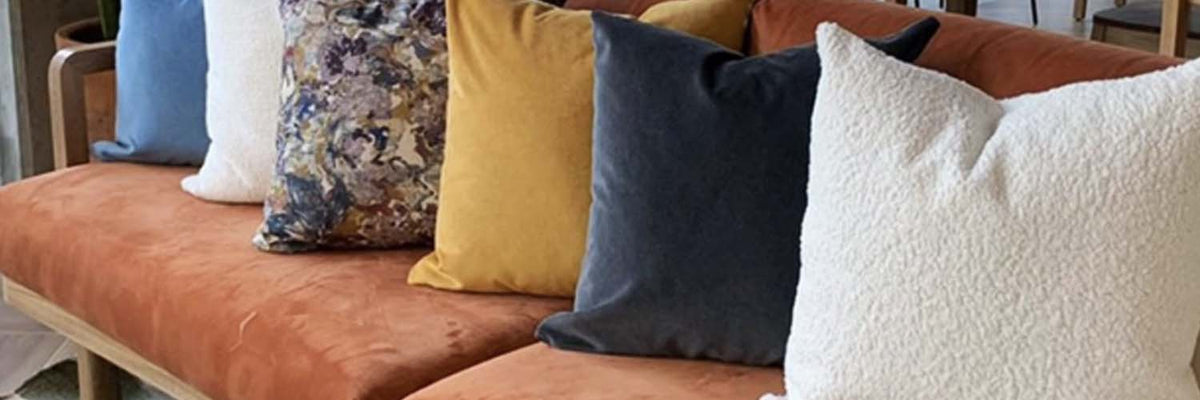
Surely, as you well know, cushions add texture, color, contrast or harmony to a space or object, be it a bed, sofa, armchairs or any piece of furniture. You can also play more with the choice of fabric, its colors and patterns, unlike an armchair, which we generally choose to go with flat fabrics and more neutral colors.
Before starting, it is important to decide if it will have buttons, closures or some other material or fitting, since the production process changes a little between each one and will also determine the type of needle and thread.

Below we will mention different methods to carry out the product:
HOW TO MAKE A CUSHION WITHOUT ZIPPER
This is one of the easiest to start with, especially if you are not an expert in sewing.
- The first thing you have to do is generate a pattern with kraft paper or cardboard with the figure, measurements and desired size. In this case it will be a 45x45 square. So, on top of the paper you superimpose a ruler or a tape measure, mark the measurement on each side and form the square.
- Cut it out, add it on top of the fabric with the help of pins and mark it with the help of a pen that can be erased with steam or clay.
Eye! The fabric has to be upside down and not right side up, otherwise the cushion will not come out as you expect. If you don't know what the reverse is, it is very easy to recognize it, just look at the side that is lighter, with less relief, shine and softness. 
- Once this is done, you add 2 or 3 cm of seam on each side and mark them well.

- Cut the fabric where you marked those extra cm and repeat steps 1 to 4 twice, since we need 2 squares to form the cushion.
- Place your machine in a straight line and begin sewing the two pieces where the marked square is. Every time you change the direction of the machine, leave the needle stuck in the fabric, raise the presser foot, turn the textile and continue. Also, you can do this process by hand with a backstitch.

- Before finishing, leave the last 3 cm or 5 cm unstitched so you can add the filling and turn the fabric to the correct side.
- In that small hole, put your hand and turn the fabric well to the right side and make sure that the spots on the cushion come out well.
- Add filling to the cushion.
- Once you have the filling, close the hole by hand or with a machine and you have your finished product.
HOW TO MAKE A ZIPPER CUSHION
It is the same process as the previous one. In fact, you have to repeat steps 1 to 4.
- After splicing the fabrics with the reverse side, the tabs must be separated from the sewing and ironing, so that each one is on one side. It has the zipper in the middle of the cushion on top of it, the topstitching has to be done.
- First, the closure is sewn as close to its teeth as possible.

- You finish sewing the rest of the square by hand or with a machine and turn it over.
- Finish the fabric with Zig Zag.

If you don't know which fabric to choose for your product, don't worry. We have a wide range of choices with different textures, colors, techniques and compositions perfect for cushions.

Author | Jimena Chavez
"This information is for reference only, to obtain precise details about the use, qualities and care of our products, it is necessary to consult directly with your seller before making a purchase or receiving recommendations."
0 comments