- Regular Price
- $ 19.99
- Sale Price
- $ 19.99
- Regular Price
- $ 19.99
- Unit Price
- per

In other previous blogs we have mentioned some textile techniques such as printing, dyeing, weaving, etc. But today we will tell you about some more homemade and trendy techniques so that you can do them easily at home.
If what you are looking for is to print in a more domestic way, don't worry, we have your solution. You can use two techniques, stencil printing or stamping .
Stencil printed.
1. Create your design.
2. Print it.
3. Trace it and cut it out on a plastic canvas (with the help of a cutter or to obtain a more precise drawing you can cut it with a laser printer).
4. Place the plastic with the selected design on the textile object you want to print.
5. Add paint over it (preferably use a roller or a wide brush).

Illustration 1: Stencil.
Stamped with seal.
Unlike this one, seal stamping, as mentioned before, is an ancient technique. However, today it has been transformed to make the preparation easier to do.
1. Create your design.
2. Find a stamp maker.
3. Choose the fabric where your design will be printed.
4. Once you have these 2 elements, add paint to the stamp and place it on the fabric.
It is important to add vertical and horizontal threads with the same distance to place them on the textile and obtain an exact measurement, symmetry and order as a result.
 Illustration 2: Stamps.
Another widely used technique is dyeing. Last week we mentioned the types of dyeing. However, we do not explain in detail very particular textile techniques and that quite a few people are inclined to them these days.
Always before dyeing, the first thing you should do is:
1. Wash the fabric with water and neutral soap.
2. Wait for it to dry a little.
3. Boil the water.
4 . Add the dye or color with grain salt.
5 . Then the fabric must be put into the water.
6. Leave it inside for a few minutes.
7. Let it dry and at the end you must iron the fabric.
Below we will mention some methods and how they work so that you can try to practice them from your home.
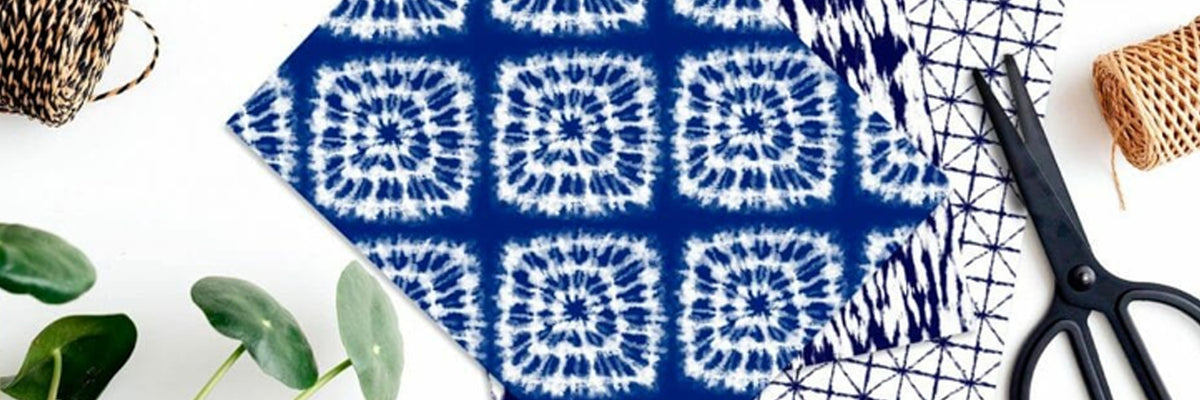
First we have shibori , a Japanese booking technique. What you should do is:
1. Boil a pot of hot water.
2. Add the dye you like to it (usually indigo blue is used).
3. Then you have to sew, join, fold, knot, twist and compress the fabric to form patterns. 
Illustration 3: Shibori.
The tie dye. Of course you've heard of this one, as it is one of the most popular trends this year. Its name means to tie and dye.
1. Generally, more organic figures or circles are made and to create these there are different ways to do it, it all depends on what you want to do, since you can twist the fabric, add pebbles or fold it to obtain a certain result .
2. Once the manufacturing process and the areas to be reserved have been decided, it is necessary to tie it with plastic ties so that the product is secured. 3. At the end, add the color to a plastic bottle and spread it throughout the fabric. Also, another way to make it is by submerging the canvas in the pot. 
Illustration 4: Tie dye.
Kumo is made very similar to the others mentioned above, only the color is reserved by:
1. Knotting, braiding and tying spider webs.
2. At the end, as in any dyeing technique, it is important to add rubber bands so that they stay in place. 
Illustration 5: Kumo.
Another way is folds, because by folding the fabric and using wooden sticks you will achieve blocking in certain areas and there will be color in the others.

Illustration 6: Folds.
If what you are looking for is to have comfortable, soft and welcoming spaces, weaving is the perfect technique for you.
You don't need a loom, just a frame, resistant threads such as mouse tail and thicker threads that generate texture or color contrast.
1. First it is necessary to form the warp. To build it, the thread needs to be wound vertically over the frame and then the frame is tied with a knot to secure it.
2. Once the vertical threads have been tensioned, the weft begins to be woven horizontally, thus having a set of threads that interweave.
3. With this procedure you can create geometric figures, silhouettes and even striking fabrics with different textures. 
Illustration 7: Screening.
Was this information useful to you? We'd like to know in the comments below what techniques you tried and how you achieved them.
Author | Jimena Chavez
"This information is for reference only, to obtain precise details about the use, qualities and care of our products, it is necessary to consult directly with your seller before making a purchase or receiving recommendations."
0 comments